Adding compost to your lawn and garden is one of the best, easiest, most natural ways to get happy, healthy plants. Compost can be bought at lawn and garden centers, farmers markets, and sometimes even from zoos. But making your own compost is relatively easy, and is great for the environment.
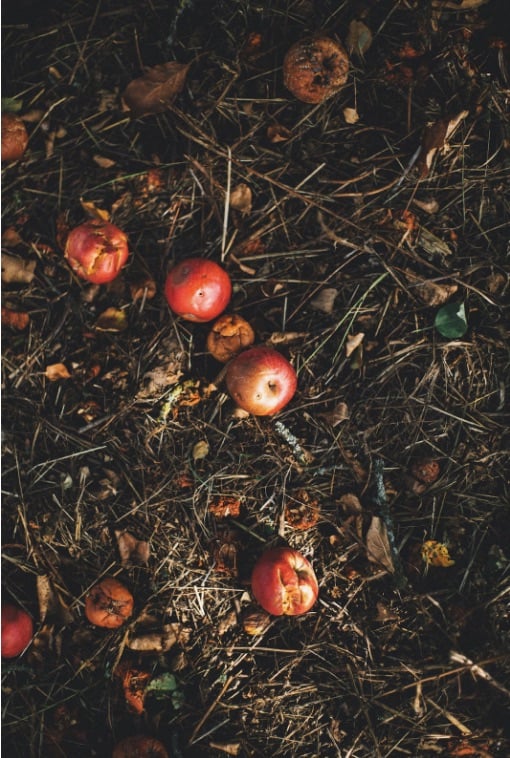
Food waste is a major problem in the United States. It’s easy to forget about the bag of apples on your counter, and since one bad apple spoils the bunch, once they start to go, it can be hard to catch them before they all get mushy.
Chucking them into the garbage isn’t the most eco-friendly disposal. Sending food waste to the landfill in a plastic garbage bag releases methane (a greenhouse gas) into the atmosphere. Food in the landfill isn’t able to properly break down into nutrient-rich compost when it’s trapped inside plastic.
To help slow the release of greenhouse gases into the atmosphere and set fewer bags of trash on the curb for garbage pickup, many households compost their food scraps.
Composting can seem like a big undertaking. Many people assume it’s messy, stinky, and a lot of work. It’s true that composting can be messy work, but if done correctly, the process shouldn’t stink up your kitchen or yard. Your compost solution can be as big or small as you want to make it, and once you get into the swing of things, is really a simple process with a big impact.
Not only does composting cut back on food waste, but the compost produced is some of the best stuff you can use to supplement your lawn and garden. Hot composting, which this article discusses the basics of, is a fairly fast process, allowing all the nutrients in your food scraps to quickly turn into rich, black soil to feed your plants.
What Can Be Composted
Greens
The majority of your kitchen waste can be composted. Everything that is plant-based can be placed right into your compost bin or bag. (Dairy and meat are a bit trickier, and are sometimes best fed to omnivorous backyard chickens as a treat, if you’re lucky enough to have your own flock.)
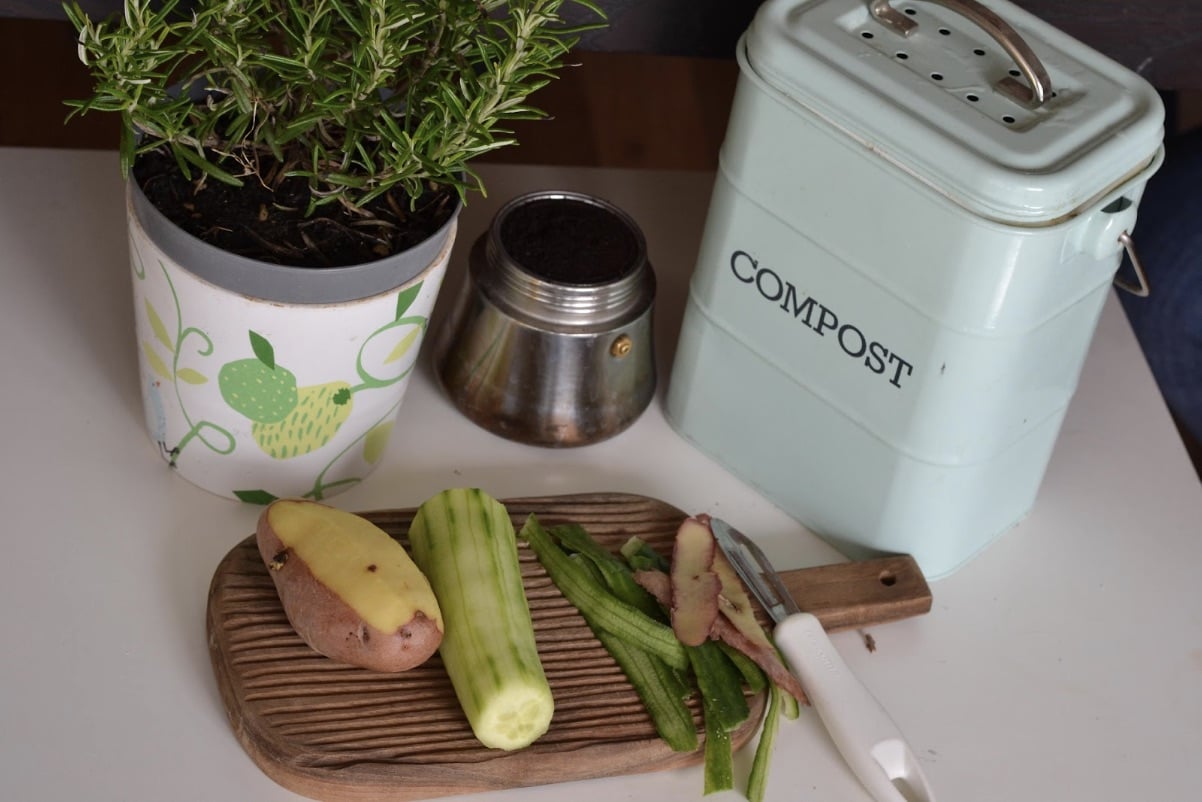
As you cook and snack during the day, place all of your scraps, such as onion skins, potato peels, and coffee grounds into your bin. Add what’s left on your plate before you wash your dishes, and toss in any fruit or vegetable that has spoiled on your counter or in your fridge.
These kitchen scraps are often called “greens” by experienced composters, simply because they are often green in color. The greens are rich in nitrogen and water. Often, those who are new to composting try to do so solely with kitchen scraps. This can lead to a stinky, slimy mess, and is the reason why a lot of people give up on their composting journey shortly after beginning.
Browns
You should add “browns,” or material rich in carbon, to your compost as well. The carbon-rich materials mix with the nitrogen-rich materials, helping one another to heat up and break down.
The size and shape of the browns help to make air pockets within your compost pile, allowing air to flow through, and helping to prevent a foul smell from forming. The browns also help to keep your pile from becoming compacted, making it easier to tumble or turn your pile (a step that is necessary for a quick-producing compost pile).
Carbon-rich materials that can be used in your pile are dried leaves, dried grass clippings, newspapers, pine needles, and unwaxed brown cardboard.
Once you start seeking these materials for your compost pile, you start to see that they’re pretty easy to find. Many or your neighbors will be more than happy to get rid of the leaves in their fencerow or for you to take away the sawdust left from cutting down a tree. Visiting a local sawmill for a load of wood chips is a great option for getting a lot of brown material in one easy swoop.
Receptacles for Composting
Gathering your kitchen scraps and indoor carbon sources can be as simple as setting out a large bowl to fill with food waste during the day, and keeping a bin available for things like newspaper and toilet paper tubes.
If an open bowl for scraps isn’t appealing, there are many aesthetically pleasing options for countertop compost collection, and most have lids to keep any undesirable smells in. It’s good to empty your compost bowl or bin daily to prevent any of those smells to begin with. Taking your scraps out to your pile or tumbler nightly is a good habit to get into, and helps prevent any slime forming when your scraps begin to break down.
There are many tumblers on the market, and these typically have a handle to help you to rotate the bin. These tumblers make turning your compost very easy, but the size of them can be restrictive.
Once you start composting, you may be shocked by how much food waste your household can produce in a short time! Sometimes, a good old-fashioned compost pile is the simplest way to go. If you can surround it with some chicken wire, it can be more easily contained and you can usually prevent any neighborhood animals (domesticated or not) from eating things they shouldn’t.
The Composting Process
Once you get your greens and browns out of the house, it’s not as simple as just chucking them into the pile. You’ve got to do a bit of measuring (or at least eyeballing) to get your compost well on its way to breaking down.
Once you start adding to your tumbler or pile, it’s important to add at least twice as many carbon-rich materials as nitrogen-rich materials. And if you can add even more carbon than that, your compost will be all the more successful! With more carbon, you’ll have little to no smell and a pile that heats up and breaks down sooner.

Keep adding to your piles, and give the compost a tumble or a toss with a turning fork every few days to add more air to the mix. If open to the environment, rain will add the necessary water to your pile, and if you’re working with a tumbler, water your compost about once a week to keep it damp.
Using Your Composting Black Gold
Your compost will be ready to use when it’s hard to distinguish the greens from the browns. Once everything starts looking nearly black and uniformly damp, has cooled, and has a rich, earthy smell, your compost is done curing and it’s good to go!
This process can take several months. While you wait for your compost to cure, you may want to start another pile so that you can keep a steady production of the black gold.
The compost can be added to your garden beds, used to start seeds, or as fertilizer for your indoor or outdoor plants. The nutrients from your food waste are now available to help the next generation of plants thrive.
Download the eBook "8 Essential Elements of a Spectacular Outdoor Living Space You'll Want to Spend All Day In." If you are ready for a new outdoor space, please reach out to us.

